Step one: do not erase evidence
Plug in the scanner with the ignition in the correct position, read the stored and pending codes, and record them. Save freeze-frame data and readiness status before clearing anything.
Step two: understand the code type
A code points to a system or condition, not always a failed part. Misfire, catalyst, EVAP, oxygen sensor, fuel trim, and thermostat codes all need context before a purchase decision.
Step three: use live data
When the scanner supports it, review live data that matches the symptom: coolant temperature, fuel trims, oxygen sensor behavior, voltage, RPM, load, or misfire counters. Compare under the same conditions shown in freeze-frame data.
Step four: decide the next test
The next step might be a visual inspection, smoke test, battery or charging test, fuel-pressure test, compression test, or professional diagnosis. The scanner begins the path; it does not finish every repair.
Step five: clear only after repair
Clear the code after recording evidence and fixing the cause. Then drive the vehicle through the readiness cycle required for inspection or confirmation.
Frequently asked questions
Can I clear a check engine light with an OBD2 scanner?
Yes, most scanners can clear engine codes, but you should save codes, freeze-frame data, and readiness status first.
Does a code tell me which part to replace?
Not always. A code identifies a condition or circuit, and diagnosis should confirm the cause before parts are replaced.
What scanner features help most?
Freeze-frame data, readiness monitors, clear code display, live data, and report saving are the most useful first features.
Best next page
Use the OBD2 Scanners guide when this diagnostic path points to a purchase decision. Compare job fit, limitations, compatibility, and the cost of ownership before choosing a model.
Open OBD2 Scanners guideRelated diagnostic guides
Continue with the closest compatibility, workflow, and buying questions for this tool family.
Tools to compare next
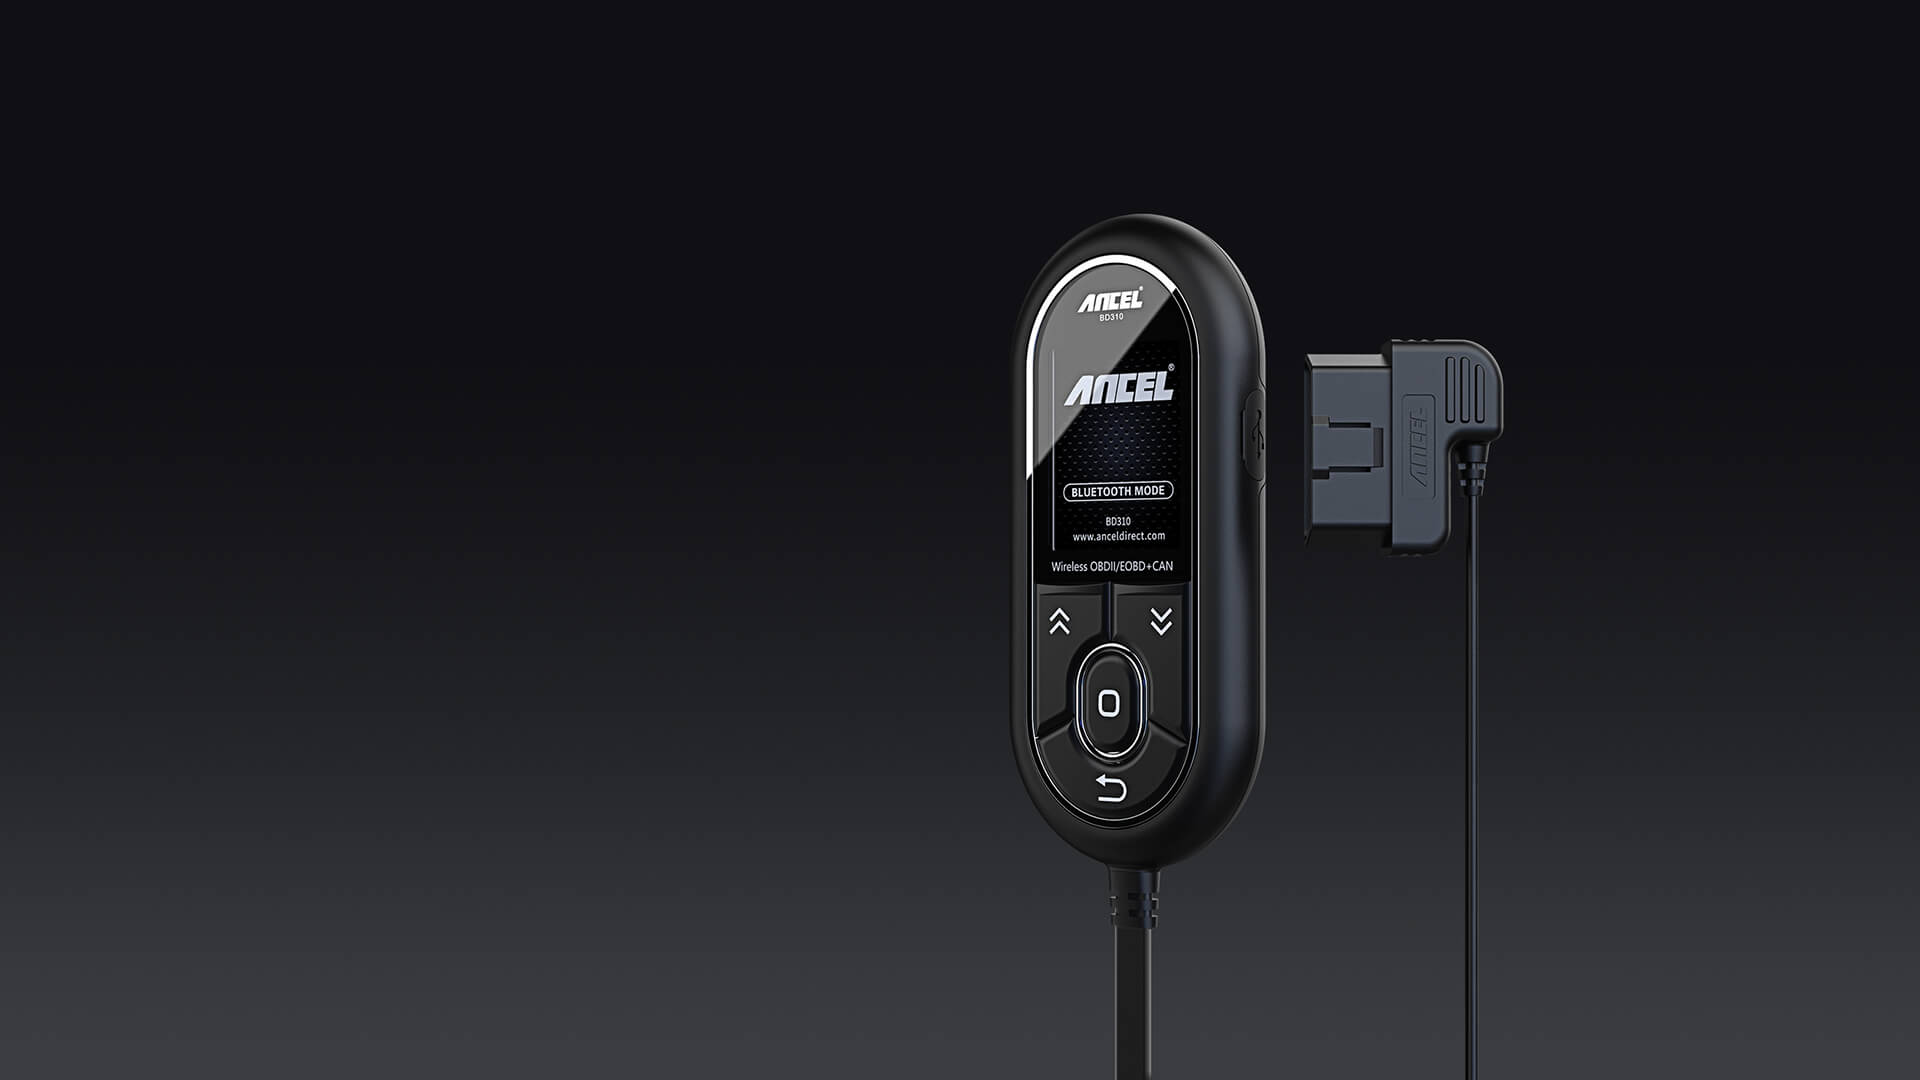
OBD2 Scanners · $$
ANCEL BD310
A sensible starter candidate for check engine light work when you want more than the cheapest code reader.
- Best for
- Drivers who want a simple handheld screen plus app support.
- Check first
- Confirm your phone compatibility and the functions you need before buying.
Compare fit and alternatives in Best OBD2 Scanner for DIY Mechanics.
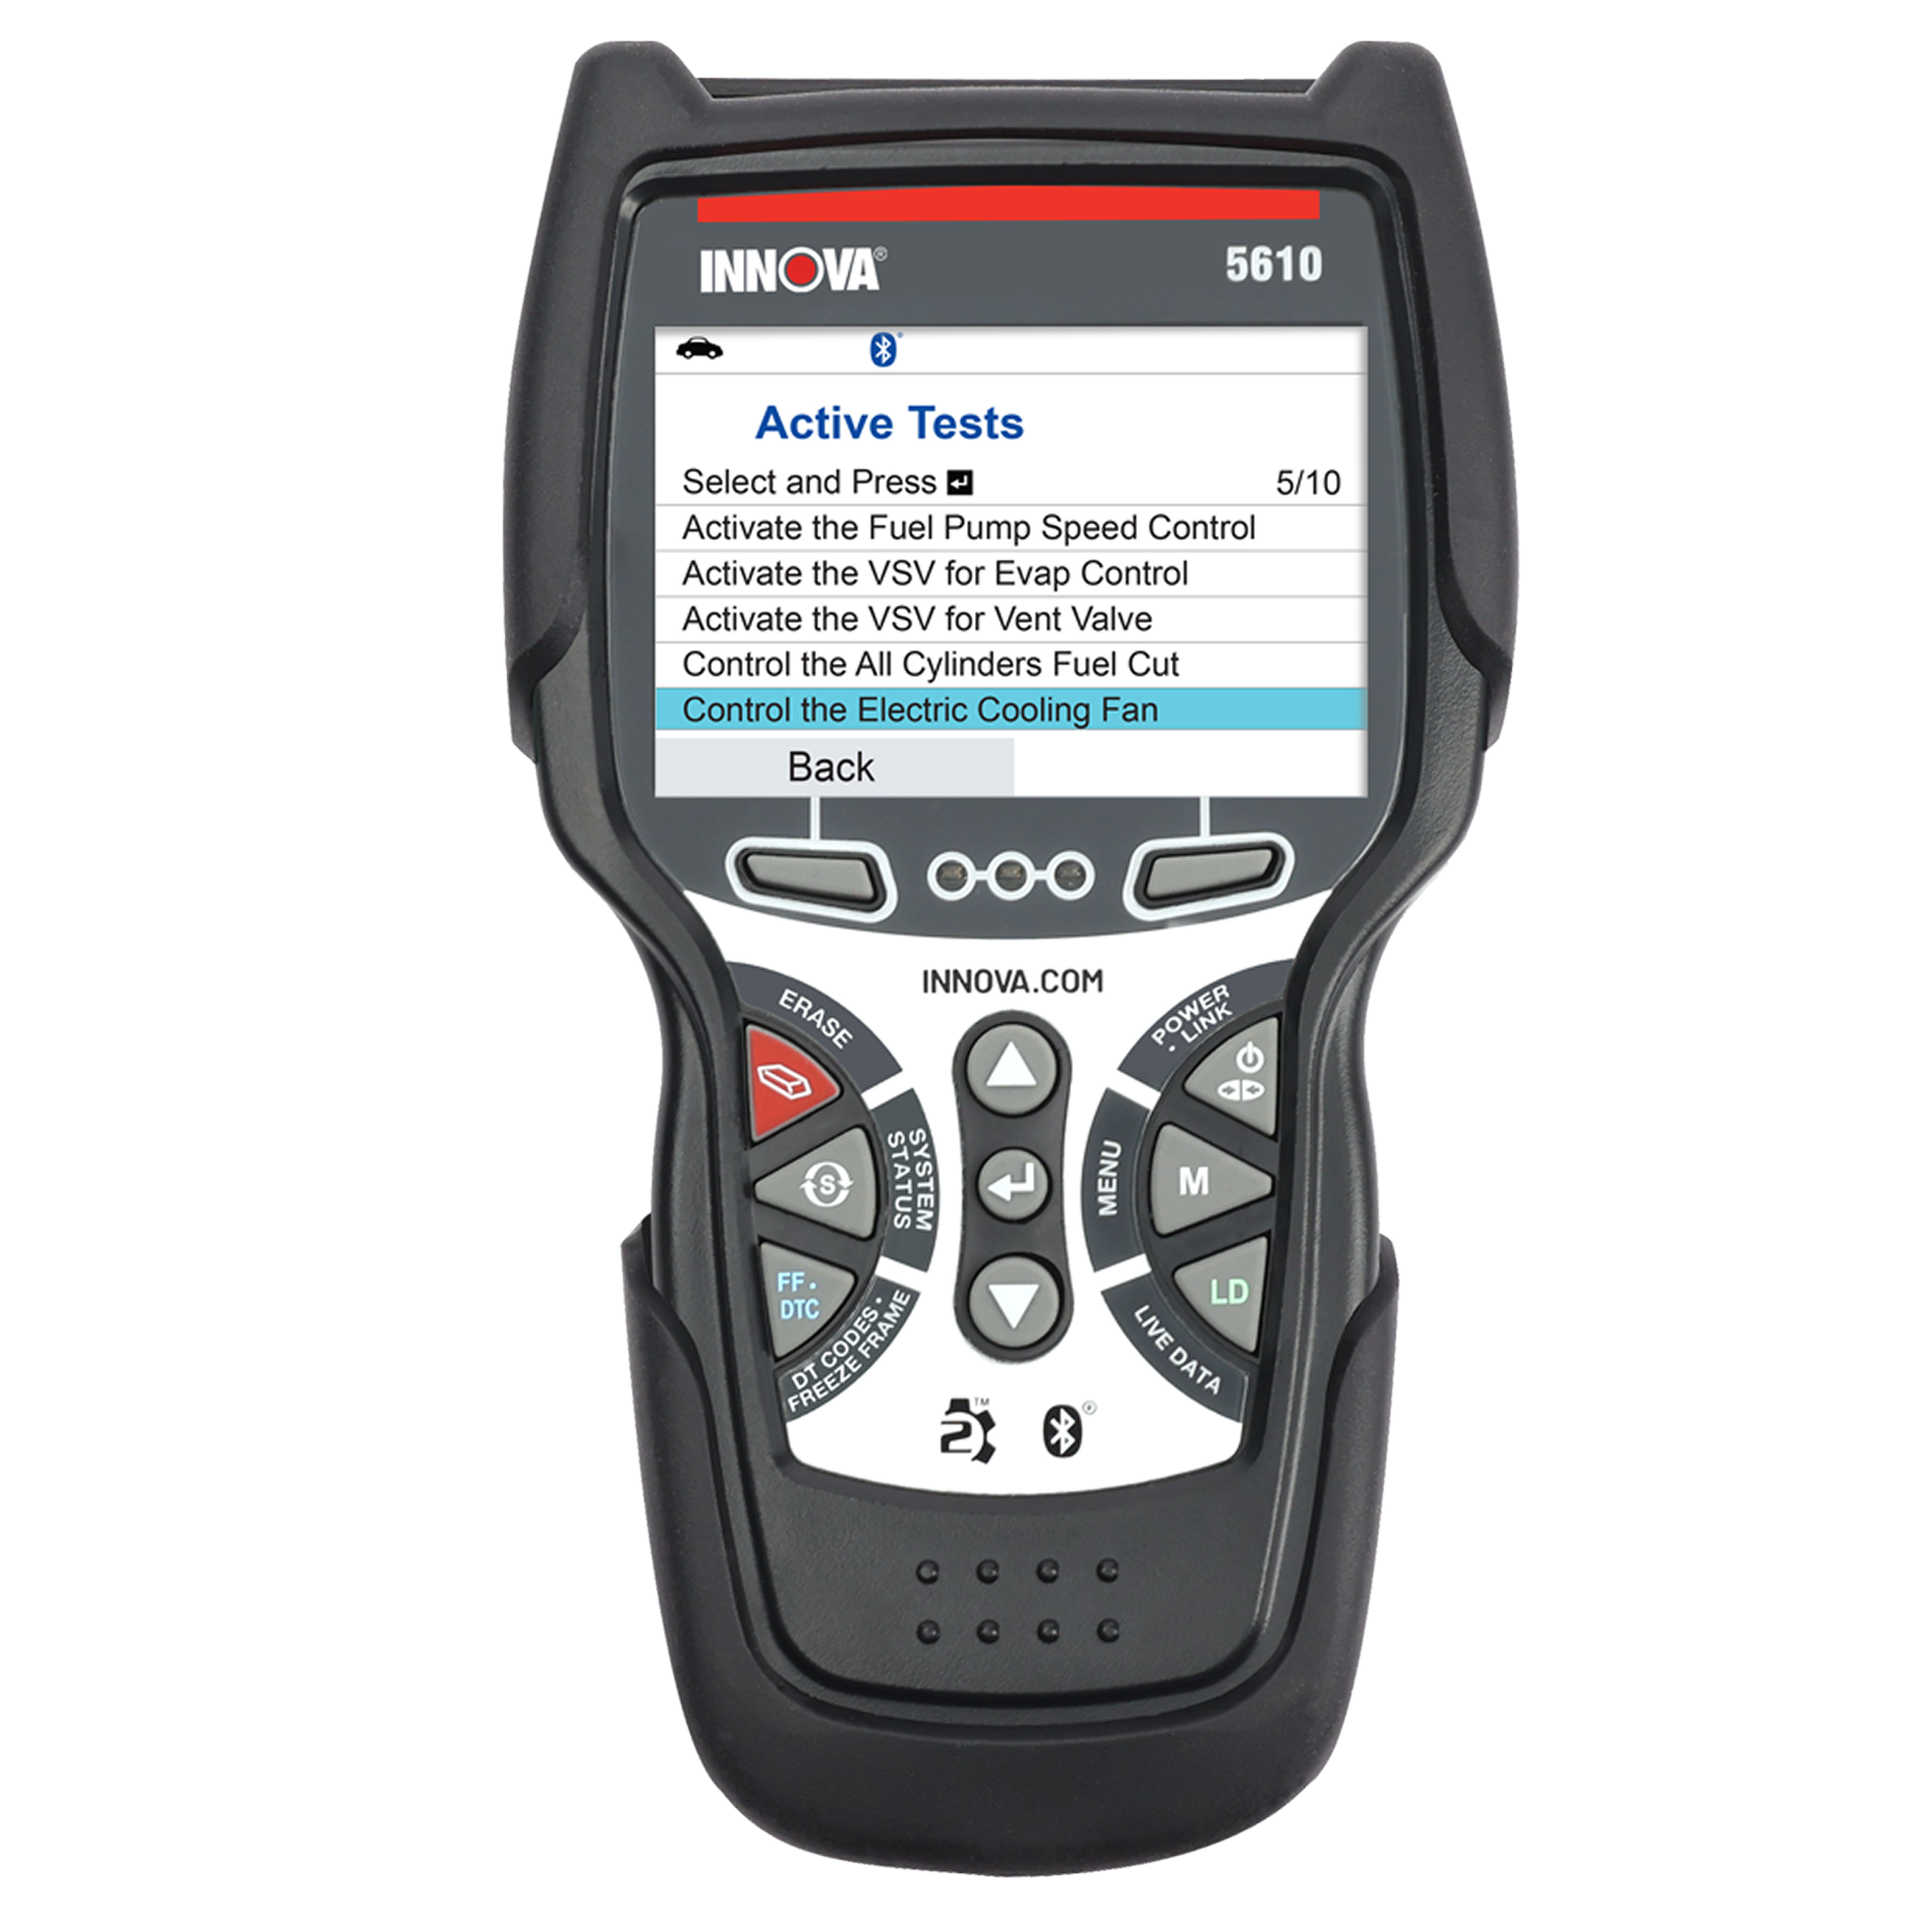
OBD2 Scanners · $$$
Innova 5610
Worth shortlisting when you want ABS/SRS style depth without jumping into shop-level scan tools.
- Best for
- DIY users who want a broader feature set than a basic reader.
- Check first
- Advanced functions can vary by vehicle. Check module and service coverage first.
Compare fit and alternatives in Best OBD2 Scanner for DIY Mechanics.

OBD2 Scanners · $$
BlueDriver Pro
A strong candidate for people who would rather use a phone than a handheld scanner.
- Best for
- Phone-first users who prefer app-guided diagnostics.
- Check first
- It is app-dependent, so phone support and update quality matter.
Compare fit and alternatives in Best OBD2 Scanner for DIY Mechanics.
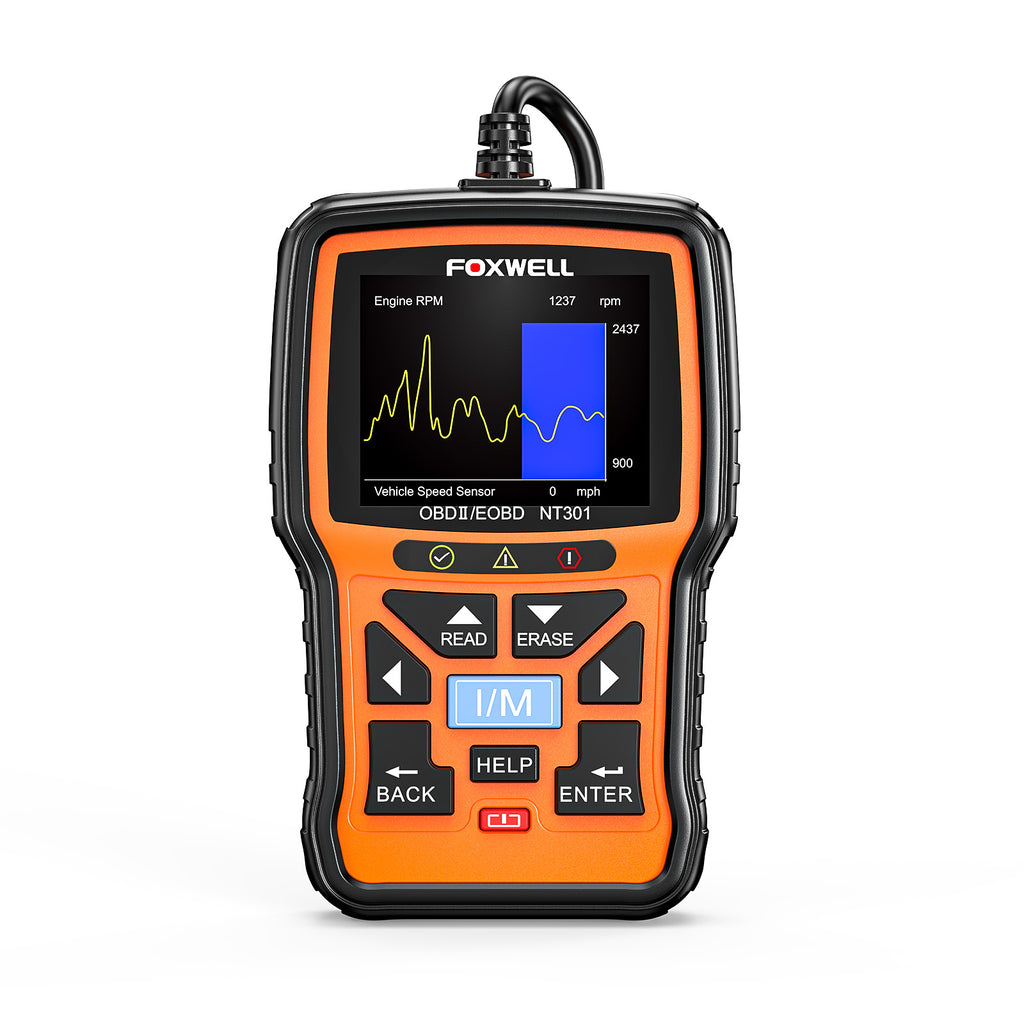
OBD2 Scanners · $
Foxwell NT301
Good for a basic garage kit when the goal is reading codes, not controlling vehicle systems.
- Best for
- Simple code reading and emissions readiness checks.
- Check first
- Do not expect advanced module coverage from a budget reader.
Compare fit and alternatives in Best OBD2 Scanner for DIY Mechanics.
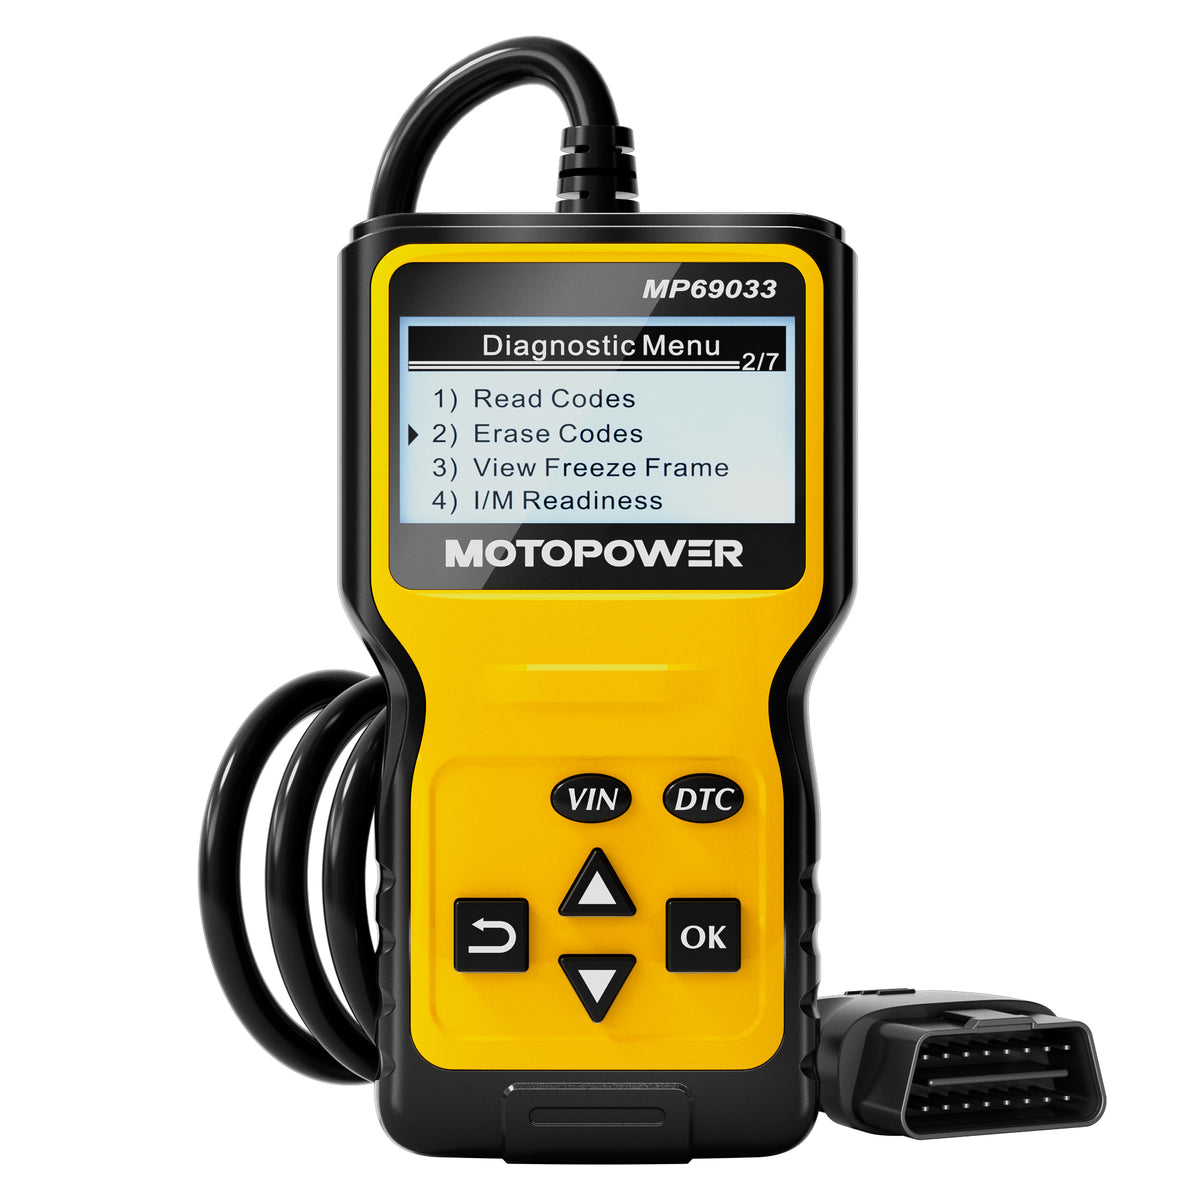
OBD2 Scanners · $
MOTOPOWER MP69033
A budget option for first-step code reading before deeper testing.
- Best for
- Keeping a low-cost code reader in the glovebox or home garage.
- Check first
- Very basic readers do not replace diagnostic judgment.
Compare fit and alternatives in Best OBD2 Scanner for DIY Mechanics.
OBD2 Scanners · $
LAUNCH CR529
A low-cost code-reader candidate for check-engine-light triage and basic readiness checks.
- Best for
- Budget buyers who want live data and emissions readiness in a simple handheld reader.
- Check first
- Do not expect ABS, SRS, or bidirectional controls from this class.
Compare fit and alternatives in Best OBD2 Scanner for DIY Mechanics.